
Macro photography of insects and bugs has always been my real passion but just what does 'macro' mean?
Macrophotography is close-up photography and will by it's very nature, usually be of small subjects. In the past a macrophotograph would be one in which the size of the subject on the negative appears greater than life-size.
Nowadays it does seem to refer more to any finished photograph where the subject is larger than life-size.
The ratio of the subject on the negative (or now in the digital age the image sensor) to the subject's actual size is know as the 'reproduction ratio'.
Most modern macro lenses will typically have a reproduction rate of 1:1 that will reproduce a life-size image. My own macro lens the Canon 100mm does exactly that, however, what if you wish to go beyond life-size photography occasionally?
True macro lenses such as the Canon MP-E65mm can achieve larger than life-size images of high quality but remain very expensive to purchase.
Extending the distance between the lens and the film or sensor, by inserting either extension tubes or bellows is another equipment option. Tubes of various lengths can be stacked, decreasing lens-to-subject distance and hence increasing magnification. Adjustable bellows or extension tubes can be used in conjunction with some other techniques including reverse mounting a lens.
Ordinary lenses can be used for macrophotography by using a 'reversing ring'.
This ring attaches to the filter thread on the front of the lens and thus makes it possible to attach a lens in reverse.
Below are a couple of photographs taken using this technique. These are full-frame, un-cropped images, just as I shot them and feature a bug that has an overall total body length of only 12-14mm.


With a standard 1:1 macro lens attached, this following photo would be about as close as you could expect to get.

My somewhat home-made kit that I took these shots with is featured below. You can see that I don't have a reversing ring to fit this lens and so I just gaffa taped the lens to the tubes. The lens I chose to reverse is not the sharpest that you will find but out of the available ones I own seemed to work the best at this experimental stage.As there is no confirmation of focusing using this method, I saw little point in using anything but cheap extension tubes. The focusing light was needed because of the difficulties of available light that I'll go into in some detail shortly.

KEY:
1. Home made flash bracket
2. Off camera cord
3. Canon 40d body
4. Extension tubes (cheapest available set from e.bay)
5. Focusing light (actually just a head-torch strapped around the tubes)
6. Carl Zeiss 50mm lens (£5 from a bootsale) Reverse mounted to the tubes (gaffa tape)
7. Flash diffuser (covered with kitchen roll to add more diffusion)
8. Canon 430ex flash unit
This was basically an experiment in reverse mounting a lens to increase magnification and so I didn't worry too much about lighting. Lighting is a whole other issue that is so important to get right and once I'm comfortable with the business of reversing, I'll tackle it in more detail to try and ensure a soft, even light without any hot-spots.
The set of photos below were taken on the same day using the same set-up.
The set of photos below were taken on the same day using the same set-up.


As you can probably tell from the picture of the woodlouse, depth of field is a real issue when working so close to the subject.It shows here because of the angle I shot the photo from. The picture of the newly emerged harlequin ladybird (notice the lack of spots) is better because of the profile view where more is in focus.

To get a reasonable depth of field I needed to set the aperture to around f16; I know of folks who manage great shots at f6 but for myself I found them too soft at that. Luckily this old lens has a manual aperture ring and so it was easy to set it up before shooting began. With such a small aperture though very little light is available for focusing. To give some idea of how it works, here's a picture showing approximately the view through the f16 aperture.

As you can see it's very dark and so some kind of illumination is required to be able to focus properly. I used a small, led head torch something like the one shown below. I just used the strap to hold it to the tubes.

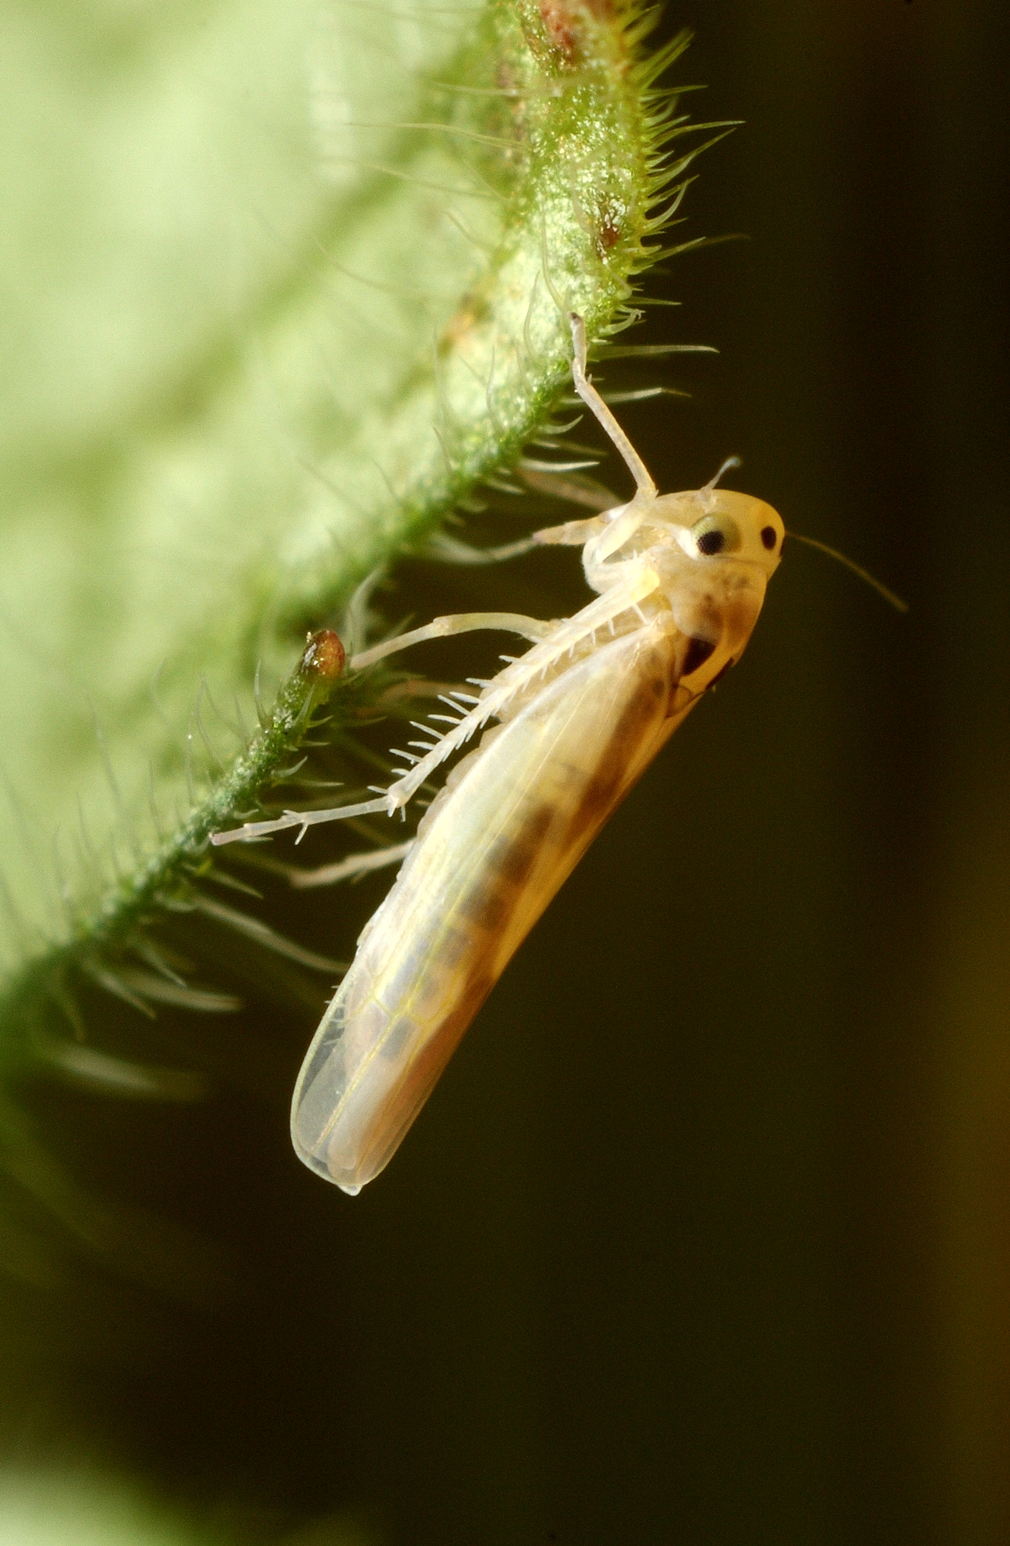
The photograph of the little hopper below was taken in my garden on a dull day and it was actually upside down under a leaf. It was around 5mm in length.
By adding more extension tubes to move the lens even closer to your subject the magnification can be pushed even higher. The next photo is of a tiny hopper nymph that was only about 2mm and barely visible at all until putting the camera on it.

I suspect that the weather may thwart too many more chances to experiment with this set-up but I may be able to resort to indoor pictures whilst I try and improve on these first shots and also work on some lighting adjustments.
Until the next time then...
No comments:
Post a Comment